
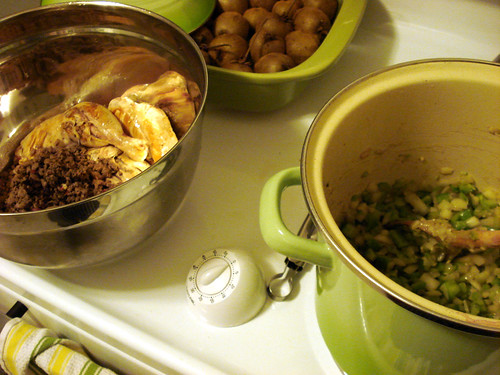
 Since P was sick last weekend, we decided to have chicken soup for dinner. Of course, a little sore throat never got anyone out of anything, so P cooked most of the "chicken bog" (our inaugural recipe from the Lee Bros. Southern Cookbook) himself. For all who are wondering, chicken bog is a fantastically rich stew made with a whole chicken (including the giblets), sausage, green peppers, onion, chile, red wine, etc., etc. Because making this incredible soup was not enough, P also made the chicken stock (recipe also from the Lee brothers) that was the base for the "bog."
As my contribution to the healing process, I baked my first ever hand-made bread (no bread machine, mind you). The results were so thrilling that I was giddy for a couple of hours afterward. [It's true - she kept talking about how she was going to start making bread every day - P] I challenged my bread (recipe below) to his chicken bog; hence the name of this post. As a testament to the strength of our relationship, we agreed that the soup and bread worked better as a team than as a rivalry.
____________________
Basic Bread recipe (adapted from Jamie Oliver's Happy Days with the Naked Chef)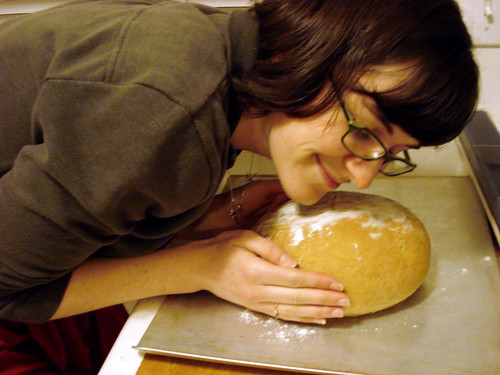
3 1/2 cups white flour
3 1/2 cups organic wheat flour
2 1/4 cups tepid water
3 1/4oz packets active dry yeast
2 tablespoons sugar
2 level tablespoons sea salt
extra flour for dusting
Stage 1: Making a well
Pile the flour on a clean surface and make a large well in the center. Pour half your water into the well, then add your yeast, sugar and salt and stir with a fork. (I chose to start this process in our Kitchenaid, rather than on the counter. Maybe not as "naked" as Jamie might have liked, but I could mix the ingredients with considerably less mess...)
Stage 2: Getting it together
Slowly, but confidently, bring in the flour from the inside of the well. Continue to bring the flour into the center until you get a stodgy, porridgey consistency - then add the remaining water. Continue to mix until it's thick again, then you can be more agressive, bringing in all the flour, making the mix less sticky. Flour your hands and pat and push the dough together with all the remaining flour. (Certain flours need a little more or less water, so feel free to adjust.)
Stage 3: Kneading!
This is where you get stuck in (his words, not mine). With a bit of elbow grease, simply push, fold, slap and roll the dough around, over and over, for 4 or 5 minutes until you have a silky texture and elastic dough. (Again, I started the kneading process with a dough hook in the mixer, then took it out and kneaded it by hand for awhile.)
Stage 4: First Rise
Flour the top of your dough. Put it in a bowl, cover with plastic wrap, and allow it to rise for about half an hour until doubled in size - ideally in a warm, moist, draft-free place. (I let the dough rise for more like an hour and a half. As if it were my baby, I obsessively monitored it all afternoon.)
Stage 5: Second Rise, Flavoring and Shaping
Once the dough has doubled in size, knock the air out for 30 seconds by bashing it and squashing it. You can now shape it or flavor it as required - folded, filled, panbaked, whatever - and leave it to rise for a second time for 30 minutes to an hour (or another hour and a half) until it has doubled in size once more. When it looks like the bread is getting close, you can go ahead and preheat your oven (350 degrees).
Stage 6: Cooking your Bread
Very gently place your bread dough on a flour-dusted baking sheet and into a preheated oven. Don't slam the door or you'll lose the air that you need. Bake in a preheated oven at 350 degrees for about 30 minutes until lightly golden. Move to a drying rack and allow to cool for half an hour before using.
_______________
This bread was deliciously home made - nice browned crust/fluffy and chewy interior. Great sandwich bread and perfect with the "bog." Of course, it wasn't bakery quality, but a friend of mine swears by the famous no-knead recipe that really does look like it popped out of a professional oven (and tastes like it too). I think I shall make that next. Sandwich bread for weekdays, bakery bread for fancy meals. Ah, the life of a baker.
Wednesday, January 2, 2008
bog vs. bread: the battle royale
![]()
Subscribe to:
Post Comments (Atom)


No comments:
Post a Comment